I can hardly believe Easter will be here soon!
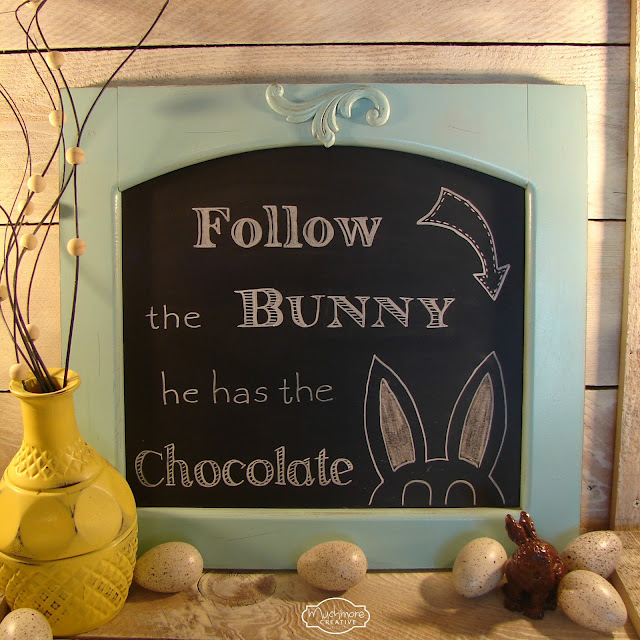
I wanted to make some cute bags to put treats in for the kids this year. I decided on something a little different this year. The bunny design is chalkboard on vinyl that is sewed onto the bag.
What you will need:
Design
Vinyl
Chalk marker
Saral Transfer paper
Status
First decide the position of your pattern. Then place the transfer paper down with the chalk side of the transfer paper against the vinyl and place your pattern on top.
Next, use your stylus to trace the pattern.
Then, trace over the chalk pattern with a chalkboard marker.
Next, cut out the design in whatever shape you like. I cut mine out in an egg shape.
Then peel off the backing of the vinyl and stick it to the fabric. I used a zigzag stitch to secure it to the fabric that will be sewed into a bag.
Next I cut and trimmed the fabric to the sizes I wanted and I also cut some trim on the top of the bag.
I sewed the trim to the top of both sides on the bag.
Next, I folded one end of the fabric over about 1/2 inch (toward the center of the bag) and pressed with an iron. Then, I folded it over 1/2 inch again and pressed - this forms the casing for the drawstring. Repeat on the other end of the fabric.
Then, I sewed along the bottom of the casing on the wrong side of the fabric. I used the inside of my pressure foot as a guide. Make sure to sew each casing separately. Don't forget to back stitch!
Next, I sewed the side seams with the right sides of the fabric together - remembering to stop right before the casing so as not to sew it closed.
Thanks so much for stopping by!

Be sure to stop by these fun link up parties!
Show & Tell Link Party
Lou Lou Girls Fabulous Party
Tutorials & Tips Link Party
Create, Link, Inspire
Inspire Me Monday
Mad Skills
Celebrate It Block Party
Share It One More Time


.JPG)

